Responses
Overview
Scribe gives you multiple ways to provide example responses for your endpoint:
- manually:
- you can use the
@responsetag, followed by an example response - you can place an example in a file and reference it with the
@responseFiletag
- you can use the
- automatically:
- Scribe can generate a response by faking a request to your endpoint (a "response call")
- Scribe can generate a response from the
@apiResourcetags (if you're using Eloquent API resources) or@transformertags (if you're using Fractal transformers)
You can use all of these strategies within the same endpoint. Scribe will display all the responses it finds.
Additionally, you can add descriptions for fields in your responses.
We'll describe all of these here, but for more details and valid values, you can see the list of supported annotations.
@response/#[Response]
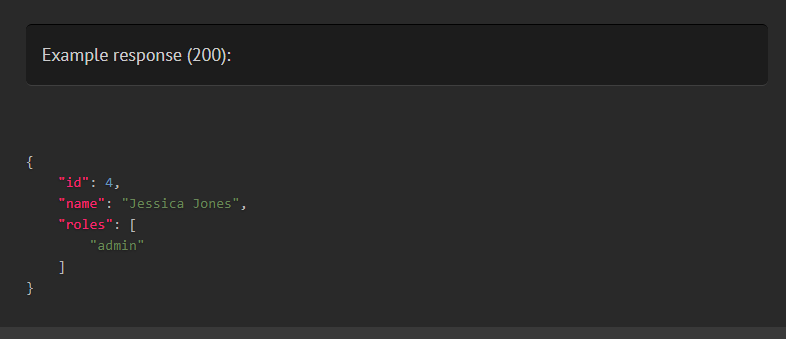
You can provide an example response for an endpoint by using the @response tag with valid JSON (on one line or multiple). Alternatively, you can use the #[Response] attribute with either a JSON string or a PHP array.
👉Full reference and more examples
- Docblock
- Attributes
/**
 * @response {
 *  "id": 4,
 *  "name": "Jessica Jones",
 *  "roles": ["admin"]
 * }
 */
public function show($id)
{
    return User::findOrFail($id);
}
use Knuckles\Scribe\Attributes\Response;

// As a string
#[Response(<<<JSON
  {
   "id": 4,
   "name": "Jessica Jones",
   "roles": ["admin"]
  }
JSON)]

// As an array
#[Response([
   "id" => 4,
   "name" => "Jessica Jones",
   "roles" => ["admin"],
])]
public function show($id)
{
    return User::findOrFail($id);
}
By default, a status code of 200 is assumed, but you can specify a different one:
- Docblock
- Attributes
/**
 * @response 201 {"id": 4, "name": "Jessica Jones"}
 */
#[Response('{"id": 4, "name": "Jessica Jones"}', 201)]
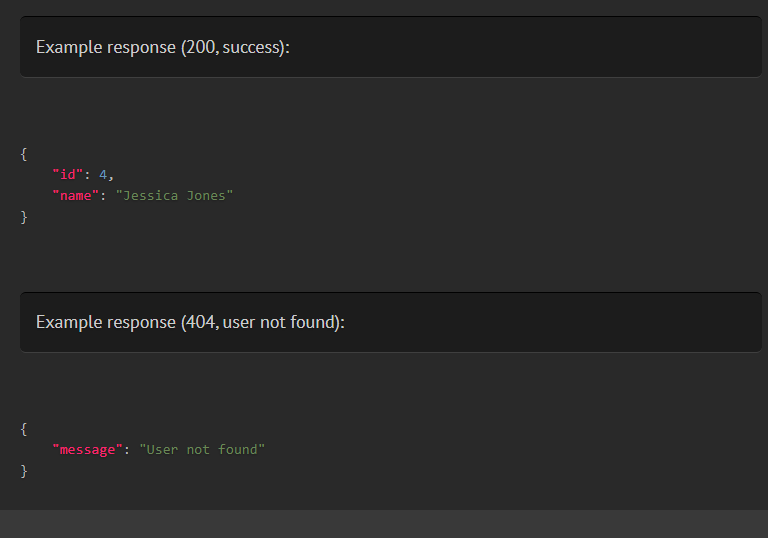
This means you can define multiple responses from the same endpoint. With @response, you can use the status and scenario fields to add context to each response. With #[Response], use the status and description arguments.
- Docblock
- Attributes
/**
 * @response scenario=success {
 *  "id": 4,
 *  "name": "Jessica Jones"
 * }
 * @response status=404 scenario="user not found" {"message": "User not found"}
 */
#[Response(description: "success", content: [
   "id" => 4,
   "name" => "Jessica Jones"
])]
#[Response(status: 404, description: "user not found", content: '{"message": "User not found"}')]
public function endpoint()
If an endpoint returns a file or some other binary response, you can use <<binary>> as the value of the response, followed by an optional description.
- Docblock
- Attributes
/**
 * @response <<binary>> The resized image
 */
#[Response("<<binary>>", "The resized image")]
@responseFile/#[ResponseFromFile]
@responseFile works similarly to @response, but instead of inlining the response, you pass a file containing your JSON response. This can be helpful for large responses.
To use this annotation, place the response as a JSON string in a file somewhere in your project directory and specify the relative path to it. For instance, we can put this response in a file named users.get.json in storage/responses/:
{"id":4,"name":"Jessica Jones"}
Then in the controller:
- Docblock
- Attributes
/**
 * @responseFile storage/responses/users.get.json
 */
public function getUser(int $id)
{
  // ...
}
use Knuckles\Scribe\Attributes\ResponseFromFile;

#[ResponseFromFile("storage/responses/users.get.json")]
public function getUser(int $id)
{
  // ...
}
👉Full reference and more examples
You can specify an absolute path, a path relative to your project root, or a path relative to your Laravel storage directory.
Like with @response. you can include a status code, or have multiple @responseFile tags on a single method, distinguished by status code and/or scenario/description.
- Docblock
- Attributes
/**
 * @responseFile responses/users.get.json
 * @responseFile status=200 scenario="when authenticated as admin" responses/user.get.admin.json
 * @responseFile 404 responses/user.not_found.json
 */
#[ResponseFromFile("responses/users.get.json")]
#[ResponseFromFile(description: "when authenticated as admin", status: 200, file: "responses/user.get.admin.json")]
#[ResponseFromFile("responses/user.not_found.json", 404)]
public function endpoint()
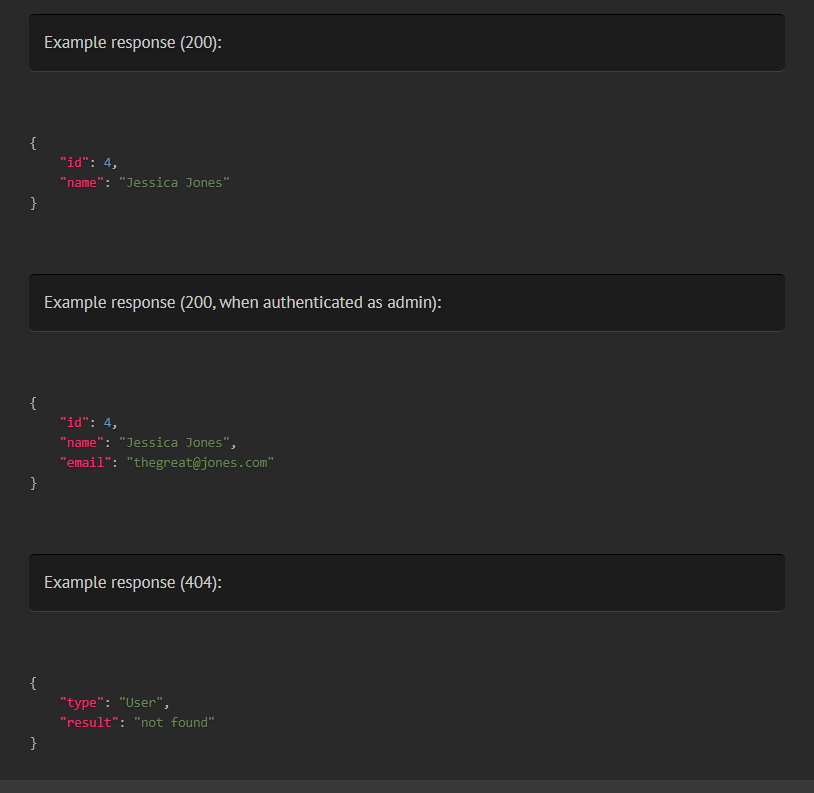
You can also "merge" responses into one. To do this, add the JSON you want to merge after the file path. For instance, supposing our generic "not found" response located in storage/responses/model.not_found.json says:
{
  "type": "Model",
  "result": "not found"
}
We can change the type to User on the fly like this:
- Docblock
- Attributes
/**
 * @responseFile 404 responses/model.not_found.json {"type": "User"}
 */
#[ResponseFromFile("responses/model.not_found.json", 404, merge: ["type" => "User"])]
This will be parsed and merged with the response from the file to give:
{
  "type": "User",
  "result": "not found"
}
Response calls
If Scribe doesn't find any 2xx responses for your endpoint, it will attempt to make a fake HTTP request to the endpoint to get a response (known as a "response call"). We say a fake request, because it doesn't call any actual URLs; it just uses the information it's extracted about your endpoints (headers, body parameters, etc) to build a HTTP request and passes it to your Laravel app as though it came via a URL.
If you don't want a parameter in your docs to be included in a response call, you can specify No-example at the end of its description.
Some key things about response calls:
-
Response calls aim to be "safe" by default. We don't want to accidentally delete a user or anything like that. By default:
- Scribe will try to start a database transaction and roll it back afterwards (see database transactions for some important details about that).
- Scribe will only make response calls for GET endpoints.
-
Response calls are configurable. Most of the configuration is located in the
apply.response_callssection for each route group in your Scribe config. You can:- choose which HTTP methods are safe for response calls, or disable it entirely (
methods) - specify Laravel config values that should be set for the response call (
config) - specify query, body and file parameters to be included in the response call (
queryParams,bodyParams, andfileParams)
- choose which HTTP methods are safe for response calls, or disable it entirely (
Authentication and customization
If your endpoints are authenticated, Scribe will use the configured use_value in your auth config. However, if you need more customization, you can use the beforeResponseCall() method to manually set it up. Typically, you'd do this in the boot() method of your AppServiceProvider.
use Knuckles\Camel\Extraction\ExtractedEndpointData;
use Symfony\Component\HttpFoundation\Request;
use Knuckles\Scribe\Scribe;

public function boot()
{
    // Be sure to wrap in a `class_exists()`,
    // so production doesn't break if you installed Scribe as dev-only
    if (class_exists(\Knuckles\Scribe\Scribe::class)) {
        Scribe::beforeResponseCall(function (Request $request, ExtractedEndpointData $endpointData) {
            $token = User::first()->api_token;
            $request->headers->add(["Authorization" => "Bearer $token"]);
        });
    }
    // ...
}
The callback you provide will receive the current Symfony\Component\HttpFoundation\Request instance and the details of the current endpoint being extracted. If you have database transactions configured, they will already be activated at that point, allowing you to modify your database freely, and have your changes rolled back after the request.
You can use beforeResponseCall() to modify anything about the outgoing request, not just authentication.
Database transactions
Response calls involve invoking your endpoint, which may lead to changes in your database. To avoid any permanent changes, Scribe tries to run response calls within a database transaction.
However, Scribe only knows of your default database connection. If you're using multiple database connections, you'll need to add them to the database_connections_to_transact array in your config.
Alternatively, you can switch to your test database.
Recommendations
To get the best value from response calls, you should make sure to configure your environment to return production-type responses. For instance, you'll want to turn debug mode off, so that 404/500 responses will return formatted error messages rather than exceptions and stack traces. You might also want to switch the app database to your test database. Additionally, if the endpoints that will be called trigger external services (for example, sending email), you'll want to use dummy service providers.
There are two ways to do this:
-
Use the
apply.response_calls.configkey in your Scribe config to override the Laravel config:config/scribe.php'response_calls' => [
'config' => [
'app.debug' => false,
'database.default' => 'sqlite',
],
], -
Add a
.env.docsfile to your repo with the desired config. This env file will be loaded when you runphp artisan scribe:generate --env docs, and will apply to all of Scribe, not just response calls, so you can use this to configure a database where models will be fetched from when using@apiResourceor@transformer(see How model instances are generated).APP_DEBUG=false
DB_DATABASE=sqlite
API resources
If your endpoint uses Eloquent API resources for its response, you can use the @apiResource annotations to tell Scribe how to generate a sample response without actually calling the endpoint. To do this, you'll need two annotations:
@apiResource/#[ResponseFromApiResource]: the name of the resource class.- If you're returning a resource collection via
YourResource::collection($things), use@apiResourceCollectionor passcollection: trueto#[ResponseFromApiResource]. If you're usingnew YourResourceCollection($things), this is optional.
- If you're returning a resource collection via
@apiResourceModel: the Eloquent model to be passed to the resource. You should use@apiResourceModelalongside either@apiResourceor@apiResourceCollection.
👉Full reference and more examples
Examples:
class UserResource extends JsonResource
{
    public function toArray($request)
    {
        return [ 'id' => $this->id ];
    }
}
- Docblock
- Attributes
/**
 * @apiResource App\Http\Resources\UserResource
 * @apiResourceModel App\Models\User
 */
public function showUser(User $user)
{
    return new UserResource($user);
}

/**
 * @apiResourceCollection App\Http\Resources\UserResource
 * @apiResourceModel App\Models\User
 */
public function listUsers()
{
    return UserResource::collection(User::all());
}

/**
 * @apiResourceCollection App\Http\Resources\UserCollection
 * @apiResourceModel App\Models\User
 */
public function listMoreUsers()
{
    return new UserCollection(User::all());
}
#[ResponseFromApiResource(UserResource::class, User::class)]
public function showUser(User $user)
{
    return new UserResource($user);
}

#[ResponseFromApiResource(UserResource::class, User::class, collection: true)]
public function listUsers()
{
    return UserResource::collection(User::all());
}

#[ResponseFromApiResource(UserCollection::class, User::class)]
public function listMoreUsers()
{
    return new UserCollection(User::all());
}
Scribe will generate an instance (or instances) of the model and pass the model(s) to the resource class to get the example response. To understand how Scribe generates an instance of your model and how you can customize that, you should check out the section on How model instances are generated.
As with @response, you can also specify a status code:
- Docblock
- Attributes
/**
 * @apiResource App\Http\Resources\UserResource status=201
 * @apiResourceModel App\Models\User
 */
#[ResponseFromApiResource(UserResource::class, User::class, 201)]
Pagination
If your endpoint returns a paginated resource response, you can tell Scribe how to paginate by:
- using the
paginatefield on@apiResourceModelor . - using either the
paginate,simplePaginate, orcursorPaginateargument on#[ResponseFromApiResource].
- Docblock
- Attributes
/**
 * @apiResourceCollection App\Http\Resources\UserCollection
 * @apiResourceModel App\Models\User paginate=10
 */
public function listMoreUsers()
{
    return new UserCollection(User::paginate(10));
}

/**
 * @apiResourceCollection App\Http\Resources\UserCollection
 * @apiResourceModel App\Models\User paginate=15,simple
 */
public function listMoreUsers()
{
    return new UserCollection(User::simplePaginate(15));
}

/**
 * @apiResourceCollection App\Http\Resources\UserCollection
 * @apiResourceModel App\Models\User paginate=15,cursor
 */
public function listMoreUsers()
{
    return new UserCollection(User::cursorPaginate(15));
}
#[ResponseFromApiResource(UserCollection::class, User::class, paginate: 10)]
public function listMoreUsers()
{
    return new UserCollection(User::paginate(10));
}

#[ResponseFromApiResource(UserCollection::class, User::class, simplePaginate: 15)]
public function listMoreUsers()
{
    return new UserCollection(User::simplePaginate(15));
}

#[ResponseFromApiResource(UserCollection::class, User::class, cursorPaginate: 15)]
public function listMoreUsers()
{
    return new UserCollection(User::cursorPaginate(15));
}
Additional Data
If your endpoint returns additional fields using the API resource's additional() method, you can indicate this with @apiResourceAdditional or the additional: argument to #[ResponseFromApiResource]:
- Docblock
- Attributes
class UserController extends Controller
{
    /**
     * @apiResource App\Http\Resources\UserResource
     * @apiResourceModel App\Models\User
     * @apiResourceAdditional result=success message="User created successfully"
     */
    public function store($request): JsonResponse
    {
        // ... some store code ...
        return UserResource::make($event)->additional([
            'result' => __('success'),
            'message' => __('User created successfully'),
        ]);
    }
}
class UserController extends Controller
{

    #[ResponseFromApiResource(UserResource::class, User::class,
        additional: ["result" => "success", "message" => "User created successfully"]
    )]
    public function store($request): JsonResponse
    {
        // ... some store code ...
        return UserResource::make($event)->additional([
            'result' => __('success'),
            'message' => __('User created successfully'),
        ]);
    }
}
Produces output (with default data-wrapper):
{
  "data": {
    "id": 1
  },
  "result": "success",
  "message": "User created successfully"
}
Transformers
If your endpoint uses "transformers" (via the league/fractal package) for its response, you can use the transformer annotations to tell Scribe how to generate a sample response without actually calling the endpoint. To do this, you'll need two annotations:
@transformer: the name of the transformer class. Use@transformerCollectioninstead if you're returning a collection.@transformerModel: the model to be passed to the resource. You should use@transformerModelalongside either of the other two.#[ResponseFromTransformer]: attribute alternative to all three
👉Full reference and more examples
@transformerModel is optional. If you don't specify it, Scribe will attempt to use the class of the first parameter to the transformer's transform(MyModel $model) method (ie MyModel).
For example:
- Docblock
- Attributes
/**
 * @transformer App\Transformers\UserTransformer
 */
public function showUser(int $id)
{
    $resource = new Fractal\Resource\Item(User::find($id), new UserTransformer());
    return (new Fractal\Manager)->createData($resource)->toArray();
}

/**
* @transformerCollection App\Transformers\UserTransformer
* @transformerModel App\Models\User
*/
public function listUsers()
{
  $resource = new Fractal\Resource\Collection(User::all(), new UserTransformer());
  return (new Fractal\Manager)->createData($resource)->toArray();
}
use Knuckles\Scribe\Attributes\ResponseFromTransformer;

#[ResponseFromTransformer(UserTransformer::class)]
public function showUser(int $id)
{
    $resource = new Fractal\Resource\Item(User::find($id), new UserTransformer());
    return (new Fractal\Manager)->createData($resource)->toArray();
}

#[ResponseFromTransformer(UserTransformer::class, collection: true)]
public function listUsers()
{
  $resource = new Fractal\Resource\Collection(User::all(), new UserTransformer());
  return (new Fractal\Manager)->createData($resource)->toArray();
}
Scribe will generate an instance (or instances) of the model and pass the model(s) to the transformer to get the example response. To understand how Scribe generates an instance of your model and how you can customize that, you should check out the section on How model instances are generated.
If your response data is nested within a Fractal resource key, you can specify it with the resourceKey field on @transformerModel:
- Docblock
- Attributes
/**
 * @transformer App\Transformers\UserTransformer
 * @transformerModel App\Models\User resourceKey=user
 */
#[ResponseFromTransformer(UserTransformer::class, User::class, resourceKey: "user")]
You can also specify a status code:
- Docblock
- Attributes
/**
 * @transformer 201 App\Transformers\UserTransformer
 * @transformerModel App\Models\User
 */
#[ResponseFromTransformer(UserTransformer::class, User::class, 201)]
Pagination
If your endpoint uses a paginator with the transformer, you can tell Scribe how to paginate via an additional tag, @transformerPaginator, or with the paginate argument of the #[ResponseFromTransformer] attribute.
- Docblock
- Attributes
/**
 * @transformerCollection App\Transformers\UserTransformer
 * @transformerModel App\Models\User
 * @transformerPaginator League\Fractal\Pagination\IlluminatePaginatorAdapter 15
 */
public function listMoreUsers()
{
    $users = User::paginate(15)->getCollection();
    $transformer = new Fractal\Resource\Collection($users, new UserTransformer(), 'data');
    $transformer->setPaginator(new IlluminatePaginatorAdapter($users));
    return (new Fractal\Manager)->createData($users)->toArray();
}
#[ResponseFromTransformer(UserTransformer::class, paginate: [IlluminatePaginatorAdapter::class, 15])]
public function listMoreUsers()
{
    $users = User::paginate(15)->getCollection();
    $transformer = new Fractal\Resource\Collection($users, new UserTransformer(), 'data');
    $transformer->setPaginator(new IlluminatePaginatorAdapter($users));
    return (new Fractal\Manager)->createData($users)->toArray();
}
How model instances are generated
When generating responses from @apiResourceModel and @transformerModel tags, Scribe needs to generate a sample model to pass to the resource or transformer. Here's the process Scribe follows:
-
First, it tries the Eloquent model factory:
YourModel::factory()->create().notecreate()saves the model to your database. But no worries! Scribe will use a database transaction, using the same database transaction rules as for response calls. -
If that fails, it tries
YourModel::factory()->make(). -
If that fails, Scribe calls
YourModel::first()to retrieve the first model from the database. -
If that fails, Scribe creates an instance using
new YourModel().
You can customise this process in a few ways:
Changing the strategies
You can change the order of these strategies, or remove the ones you don't need by editing the examples.models_source config item. By default, it's set to ['factoryCreate', 'factoryMake', 'databaseFirst'], corresponding to the three main strategies above.
Applying states
If you want specific states to be applied to your model factory, you can use the states field on @apiResourceModel or @transformerModel. Separate multiple states with a comma. If you're using attributes, use the factoryStates: argument with an array of states.
- Docblock
- Attributes
/**
* @apiResourceCollection App\Http\Resources\UserCollection
* @apiResourceModel App\Models\User states=student,verified
  */
#[ResponseFromApiResource(UserCollection::class, User::class,
    factoryStates: ['student', 'verified']
)]
Loading relations
If you want specific relations to be loaded with your model, you can use the with attribute on @apiResourceModel or @transformerModel. Separate multiple relations with a comma.
- Docblock
- Attributes
/**
 * @apiResource App\Http\Resources\UserResource
 * @apiResourceModel App\Models\User with=teacher,classmates
 */
#[ResponseFromApiResource(UserResource::class, User::class,
    with: ['teacher', 'classmate']
)]
Nested relations can be specified using dot notation. HasMany and BelongsToMany relations are supported for factories:
- Docblock
- Attributes
/**
 * @apiResource App\Http\Resources\AuthorCollection
 * @apiResourceModel App\Models\Author with=posts.categories
 */
#[ResponseFromApiResource(AuthorCollection::class, Author::class, with: ['posts.categories'])]
If your many-to-many relation has extra columns in its pivot table, you'll need to create a helper method named pivot<RelationName> in both factories. For instance, if our post_category table has a priority column:
class PostFactory extends Factory
{
  protected $model = Post::class;

  public function definition(): array
  {
    // ...
  }

  public function pivotCategories(): array
  {
    return [
      'priority' => $this->faker->randomNumber(),
    ];
  }
}

class CategoryFactory extends Factory
{
  protected $model = Category::class;

  public function definition(): array
  {
    // ...
  }

  public function pivotCategories(): array
  {
    return [
      'priority' => $this->faker->randomNumber(),
    ];
  }
}
Response fields
You can add descriptions for fields in your response by adding @responseField/#[ResponseField] to your controller method. If you're using an Eloquent @apiResource to generate your response, you can place the annotation on your resource's toArray() method instead.
👉Full reference and more examples
- Docblock
- Attributes
/**
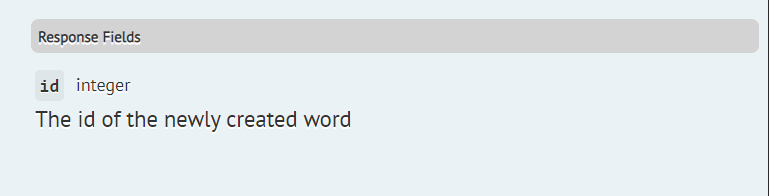
* @responseField id The id of the newly created word
*/
#[ResponseField("id", "The id of the newly created word")]
You can leave out the type, and Scribe will figure it out from your responses.
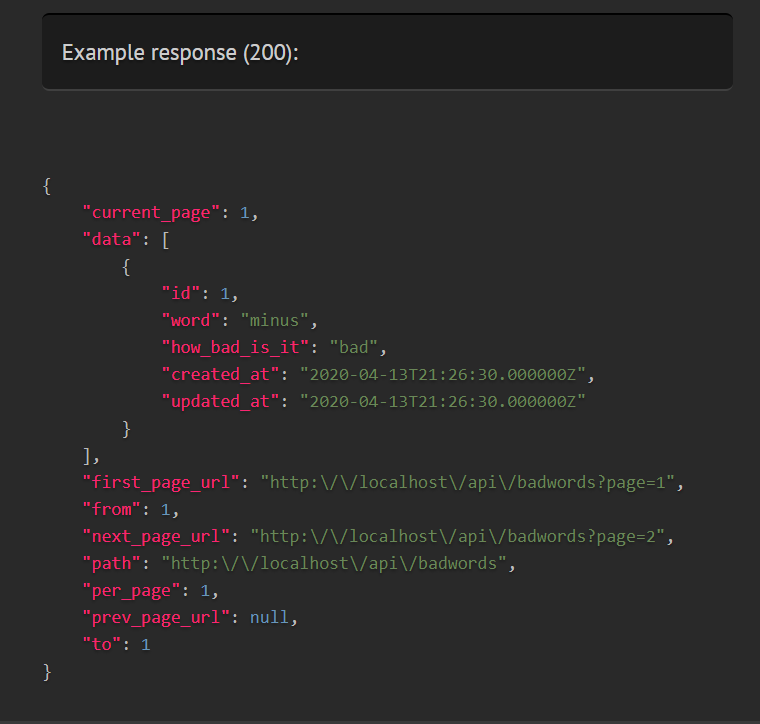
You don't need to specify the full field path if the field is inside an array of objects or wrapped in pagination data. For instance, the above annotation will work fine for all of these responses:
{ "id": 3 }
// Array of objects
[
  { "id": 3 }
]
// Inside "data" key
{
   "data": [
     { "id": 3 }
   ]
}
However, you can also specify the type of the field if you wish:
- Docblock
- Attributes
/**
 * @responseField id integer The id of the newly created word
 */
#[ResponseField("id", "integer", "The id of the newly created word")]