Endpoint metadata
Endpoint metadata is primarily added via docblocks. See Supported annotations for a comprehensive list.
Remember, for Express and Restify, docblocks must go on the route definition.
Title and description
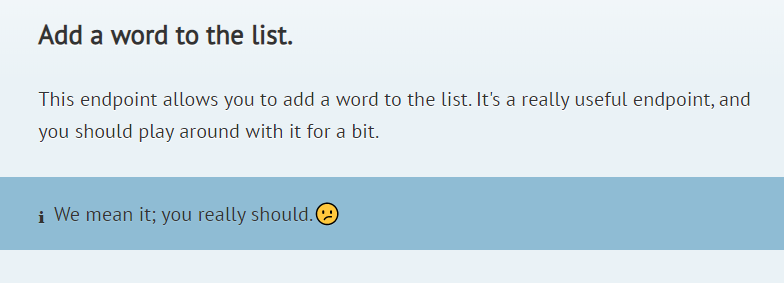
To set an endpoint's title and description, just write in the endpoint's docblock. The first paragraph is the title, and the rest is the description. There must be a blank line between title and description. Markdown and HTML are also supported (see HTML helpers).
For instance, this:
/**
 * Add a word to the list.
 *
 * This endpoint allows you to add a word to the list.
 * It's a really useful endpoint, and you should play around
 * with it for a bit.
 * <aside class="notice">We mean it; you really should.😕</aside>
 */
becomes:

For best results, the title and description should come before any annotations (@-tag).
Grouping endpoints
For easy navigation, endpoints in your API are organized by groups. You can add an endpoint to a group by using the @group annotation, followed by the name of the group.
class UserController extends Controller {
    /**
     * Create a user.
     *
     * @group User management
     */
    createUser() {

    }

    /**
     * Change a user's password.
     *
     * @group Account management
     */
    changePassword() {

    }
}
Grouping endpoints is optional. Any endpoints not in a group will be placed in a default group specified in your config.
Indicating authentication status
If you have auth.default set to false in your config, your endpoints will be treated as open by default. You can use the @authenticated annotation on a method to indicate that the endpoint needs authentication.
Similarly, if you have auth.default set to true in your config, your endpoints will be treated as authenticated by default. You can use the @unauthenticated annotation on a method to indicate that the endpoint is unauthenticated.
/**
 * Create a user
 *
 * This endpoint lets you create a user.
 * @authenticated
 *
 */
A "Requires authentication" badge will be added to that endpoint in the generated documentation.
